Build a Simple Slideshow
Similar to Android, InAiR app is built using a hierarchy of UIView and UIViewGroup. InAiR provides an XML vocabulary that corresponds to the subclasses of UIView and UIViewGroup so you can define your UI in XML using a hierarchy of UI elements.
Continue from where we left off, this tutorial will guide you through building a simple Photo Gallery App.
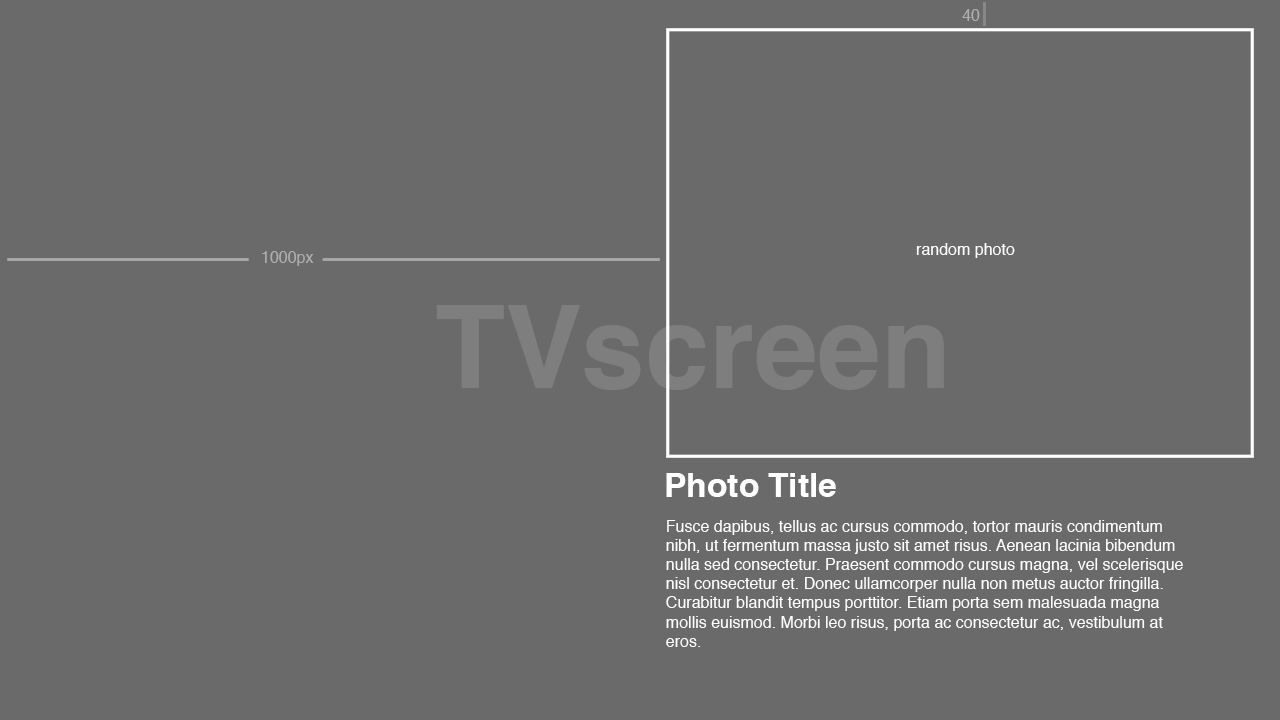
Let's assume we want to try something like the following design:
Updating the Layout
The BlankApp template we selected at the begining of this tutorial includes a activity_main.xml file with a UIViewGroup and a UITextView child view.
In Android Studio, from the
res/layoutdirectory, open theactivity_main.xmlfile.In the Preview pane, there will be 2 panes at the bottom (Design & Text). Select Text pane.
In Android Studio, when you open a layout file, you’re first shown the Preview pane. Since InAiR uses a different view system, it's not possible to use WYSIWYG tools. You're going to work directly with the XML.
Delete the
<UITextView>element.- Add attributes defining layout's size & position:
| Attribute | Value |
|---|---|
| ui:width | 840 |
| ui:height | 1000 |
| ui:positionX | 1000 |
| ui:positionY | 40 |
| ui:positionZ | 0 |
The result looks like this:
res/layout/activity_main.xml
<?xml version="1.0" encoding="utf-8"?>
<UIViewGroup xmlns:ui="http://schemas.android.com/apk/res-auto"
             ui:width="840"
             ui:height="1000"
             ui:positionX="1000"
             ui:positionY="40"
             ui:positionZ="0"
  >

</UIViewGroup>
The attributes ui:width, ui:height, ui:positionX and ui:positionY define the boundings of the view group.
For more information about layout properties, see the Layout guide.
Notes: The pixel resolution of the screen is always 1920x1080. There's no other resolution in InAiR.
Add a photo
- In the
activity_main.xmlfile, within the<UIViewGroup>element, define an<UIImageView>element with the id attribute set to@+id/main_photo - Define the
ui:widthandui:heightattributes as 800 and 500, respectively. - Save the following images to your
res/drawablefolder: photo1, photo2, photo3, photo4, photo5.
The <UIImageView> element should read as follows:
res/layout/activity_main.xml
<UIImageView
    ui:width="800"
    ui:height="500"
    ui:id="@+id/main_photo"
    ui:src="@drawable/photo1"
    />
Here are the <UIImageView> attributes you added:
ui:idThis provides a unique identifier for the view, which you can use to reference the object from your app code, such as to read and manipulate the object (you'll see this in the next tutorial). It works exactly the same way asandroid:idui:widthandui:heightDefine image's size. Note thatui:positionXandui:positionYattributes are not defined, which will have the default value 0.ui:srcSets a drawable as the content of this UIImageView. At the moment, the photo1 is being displayed.
Add photo title & photo description
- In Android Studio, from the
res/layoutdirectory, edit theactivity_main.xmlfile. - Within the
<UIViewGroup>element, define 2<UITextView>elements.
It should read as follows:
<UITextView
    ui:height="60.0"
    ui:width="800.0"
    ui:text="Photo Name"
    ui:textColor="@color/white"
    ui:fontSize="40.0"
    ui:fontStyle="bold"
    ui:alpha="1.0"
    ui:positionY="540.0"
    />

 <UITextView
    ui:height="400.0"
    ui:width="800.0"
    ui:text="Duis mollis, est non commodo luctus, nisi erat porttitor ligula, eget lacinia odio sem nec elit. Maecenas sed diam eget risus varius blandit sit amet non magna. Cras justo odio, dapibus ac facilisis in, egestas eget quam. Sed posuere consectetur est at lobortis. Sed posuere consectetur est at lobortis. Maecenas sed diam eget risus varius blandit sit amet non magna. Donec id elit non mi porta gravida at eget metus."
    ui:textColor="@color/white"
    ui:fontSize="24.0"
    ui:alpha="1.0"
    ui:positionY="600.0"
    />
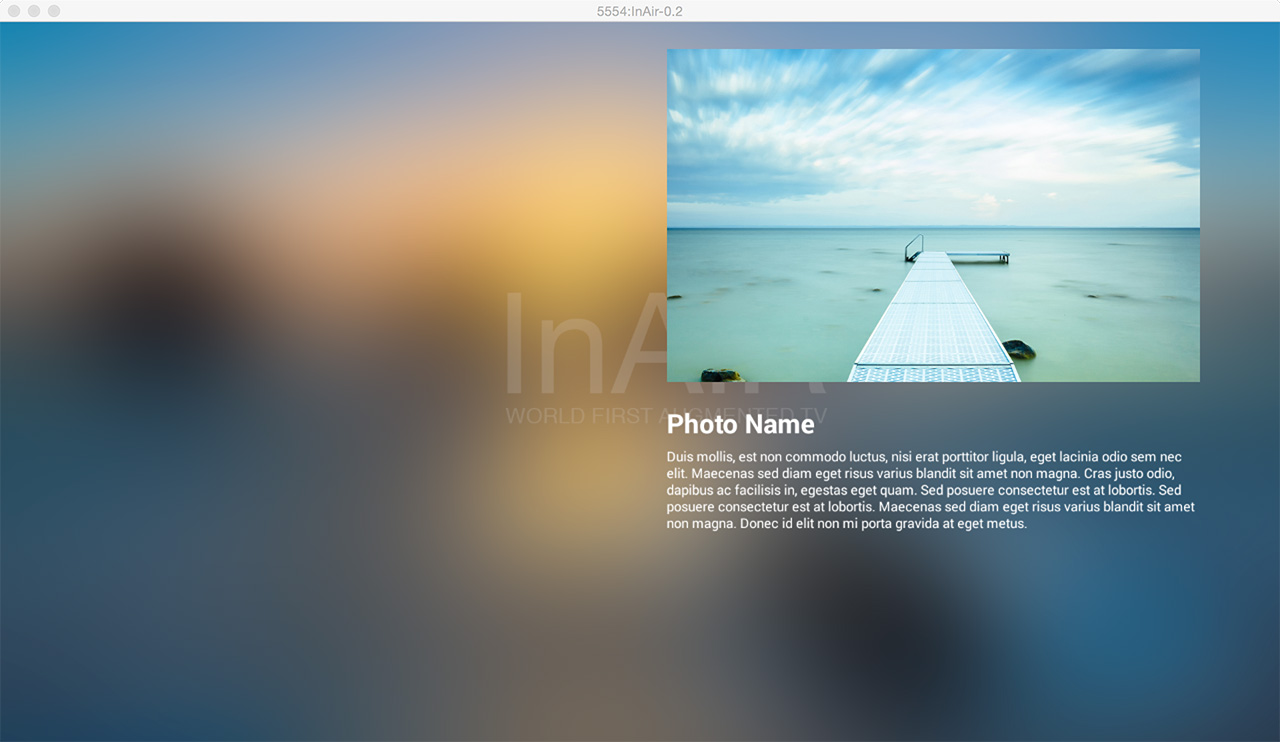
Now run your application again, you would get something like this.
Proceed to the next tutorial to learn how you can use Binding to make the Slideshow.